To activate the call model to save time and effort and ensure child safety, follow these steps:
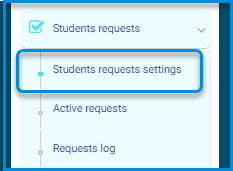
- From the main menu, select “Parent Call for Students.”
- Click on “Student Request Settings.”
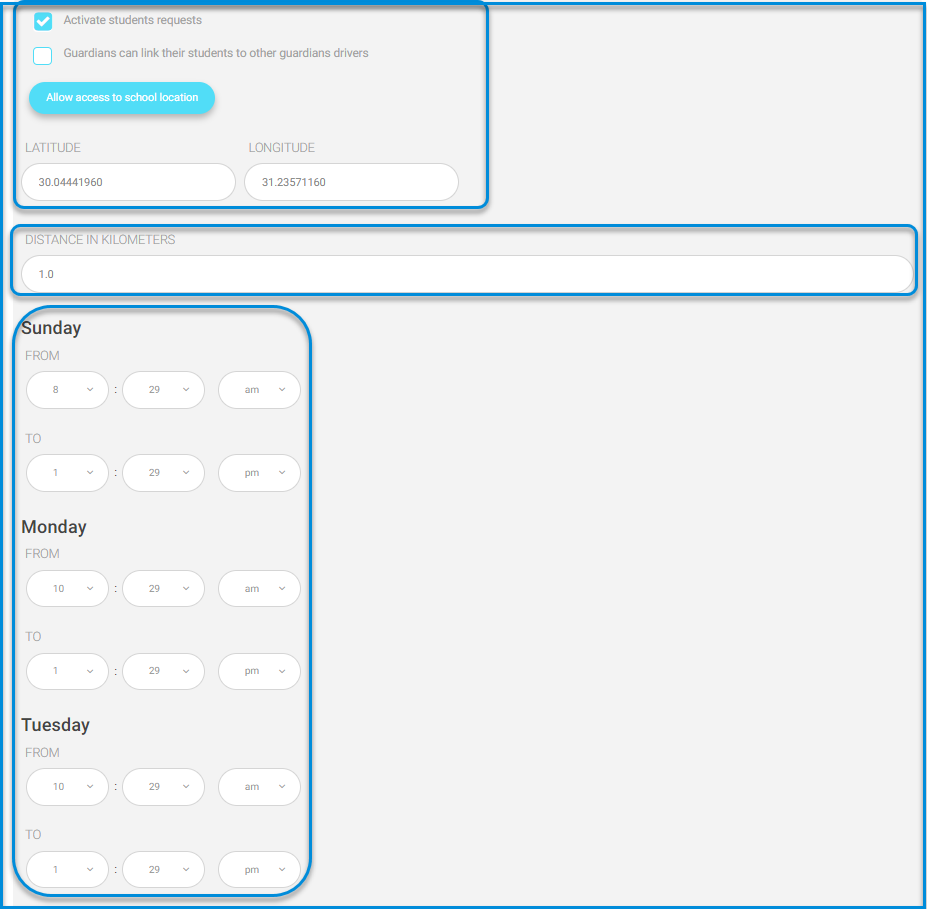
- The settings will appear.
- Click on “Activate Service.”
- Allow access to the geographic location and set the distance from which a parent’s call can be received.
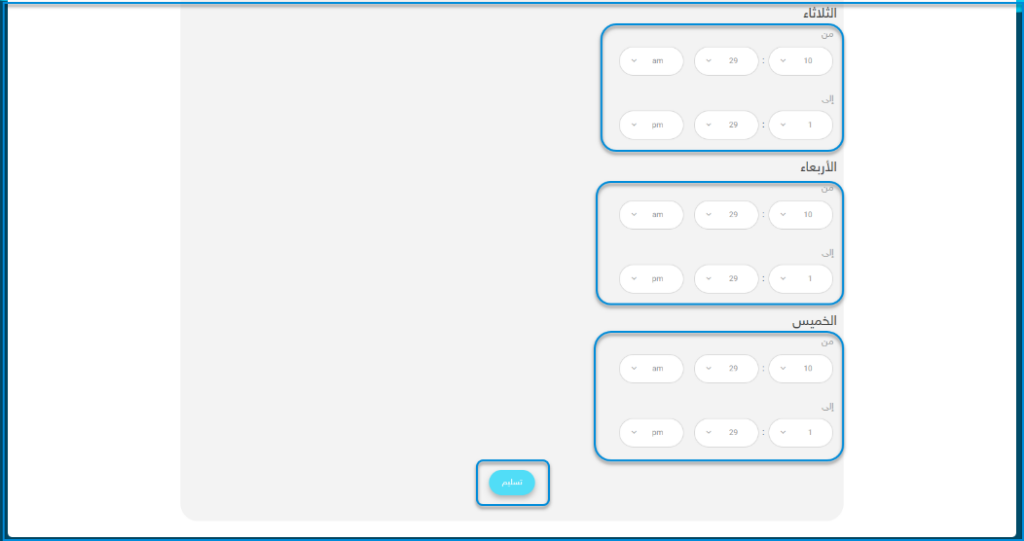
- Set dismissal times.
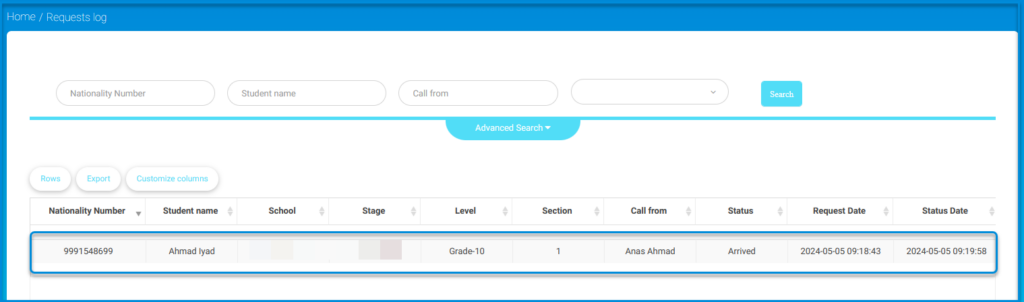
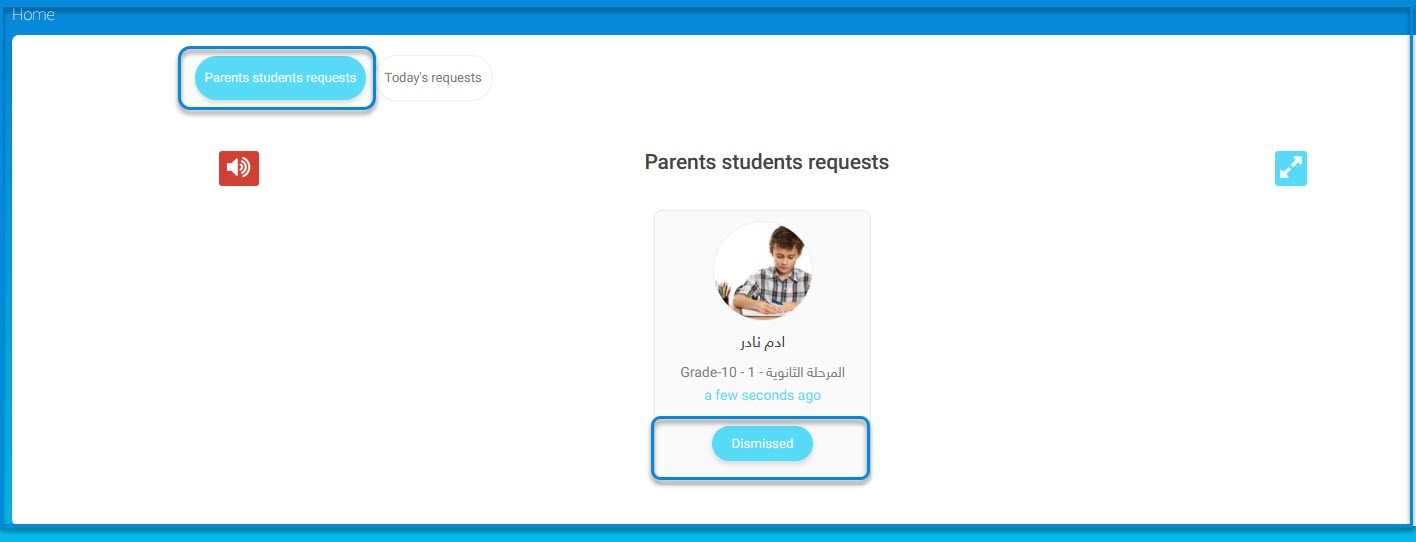
- When a parent initiates a call to the student, a request appears to the system administrator or the appointed call officer by the school by clicking on “Student Dismissed.”
4. The parent presses “Pick Up Child,” and a notification of the student’s arrival appears to the system administrator.
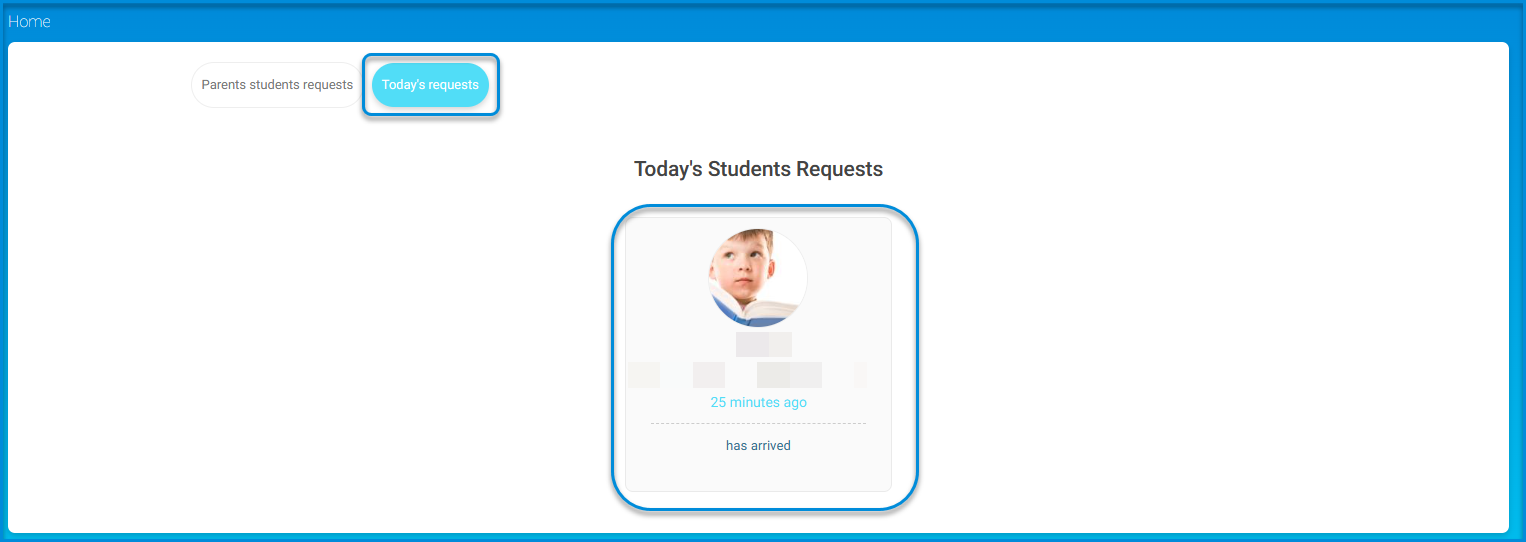
5. Review the student arrival log by time and date.